Analyzing a metallographic sample is necessary to understand what you’re really working with, or to ensure a job is done right. The hardness of a metal, as well as its grain structure, reveals important properties of the material.
Properly preparing a sample for analysis is a must if you want to be able to trust your results. This is especially important if you are doing image or microscopic analysis. At LECO, we often receive samples from customers who are looking to determine which of our metallographic equipment offerings might work best for their applications, or what methods provide the best consistency and efficiency.


Inside of our Customer Experience Center in St. Joseph, Michigan, we have a fully functional Metallographic laboratory where our team of metallographers can take a sample through the entire process of preparation for analysis. Upon receiving a sample, our trusted LECO experts get to work on preparing it, beginning with sectioning.
Sectioning
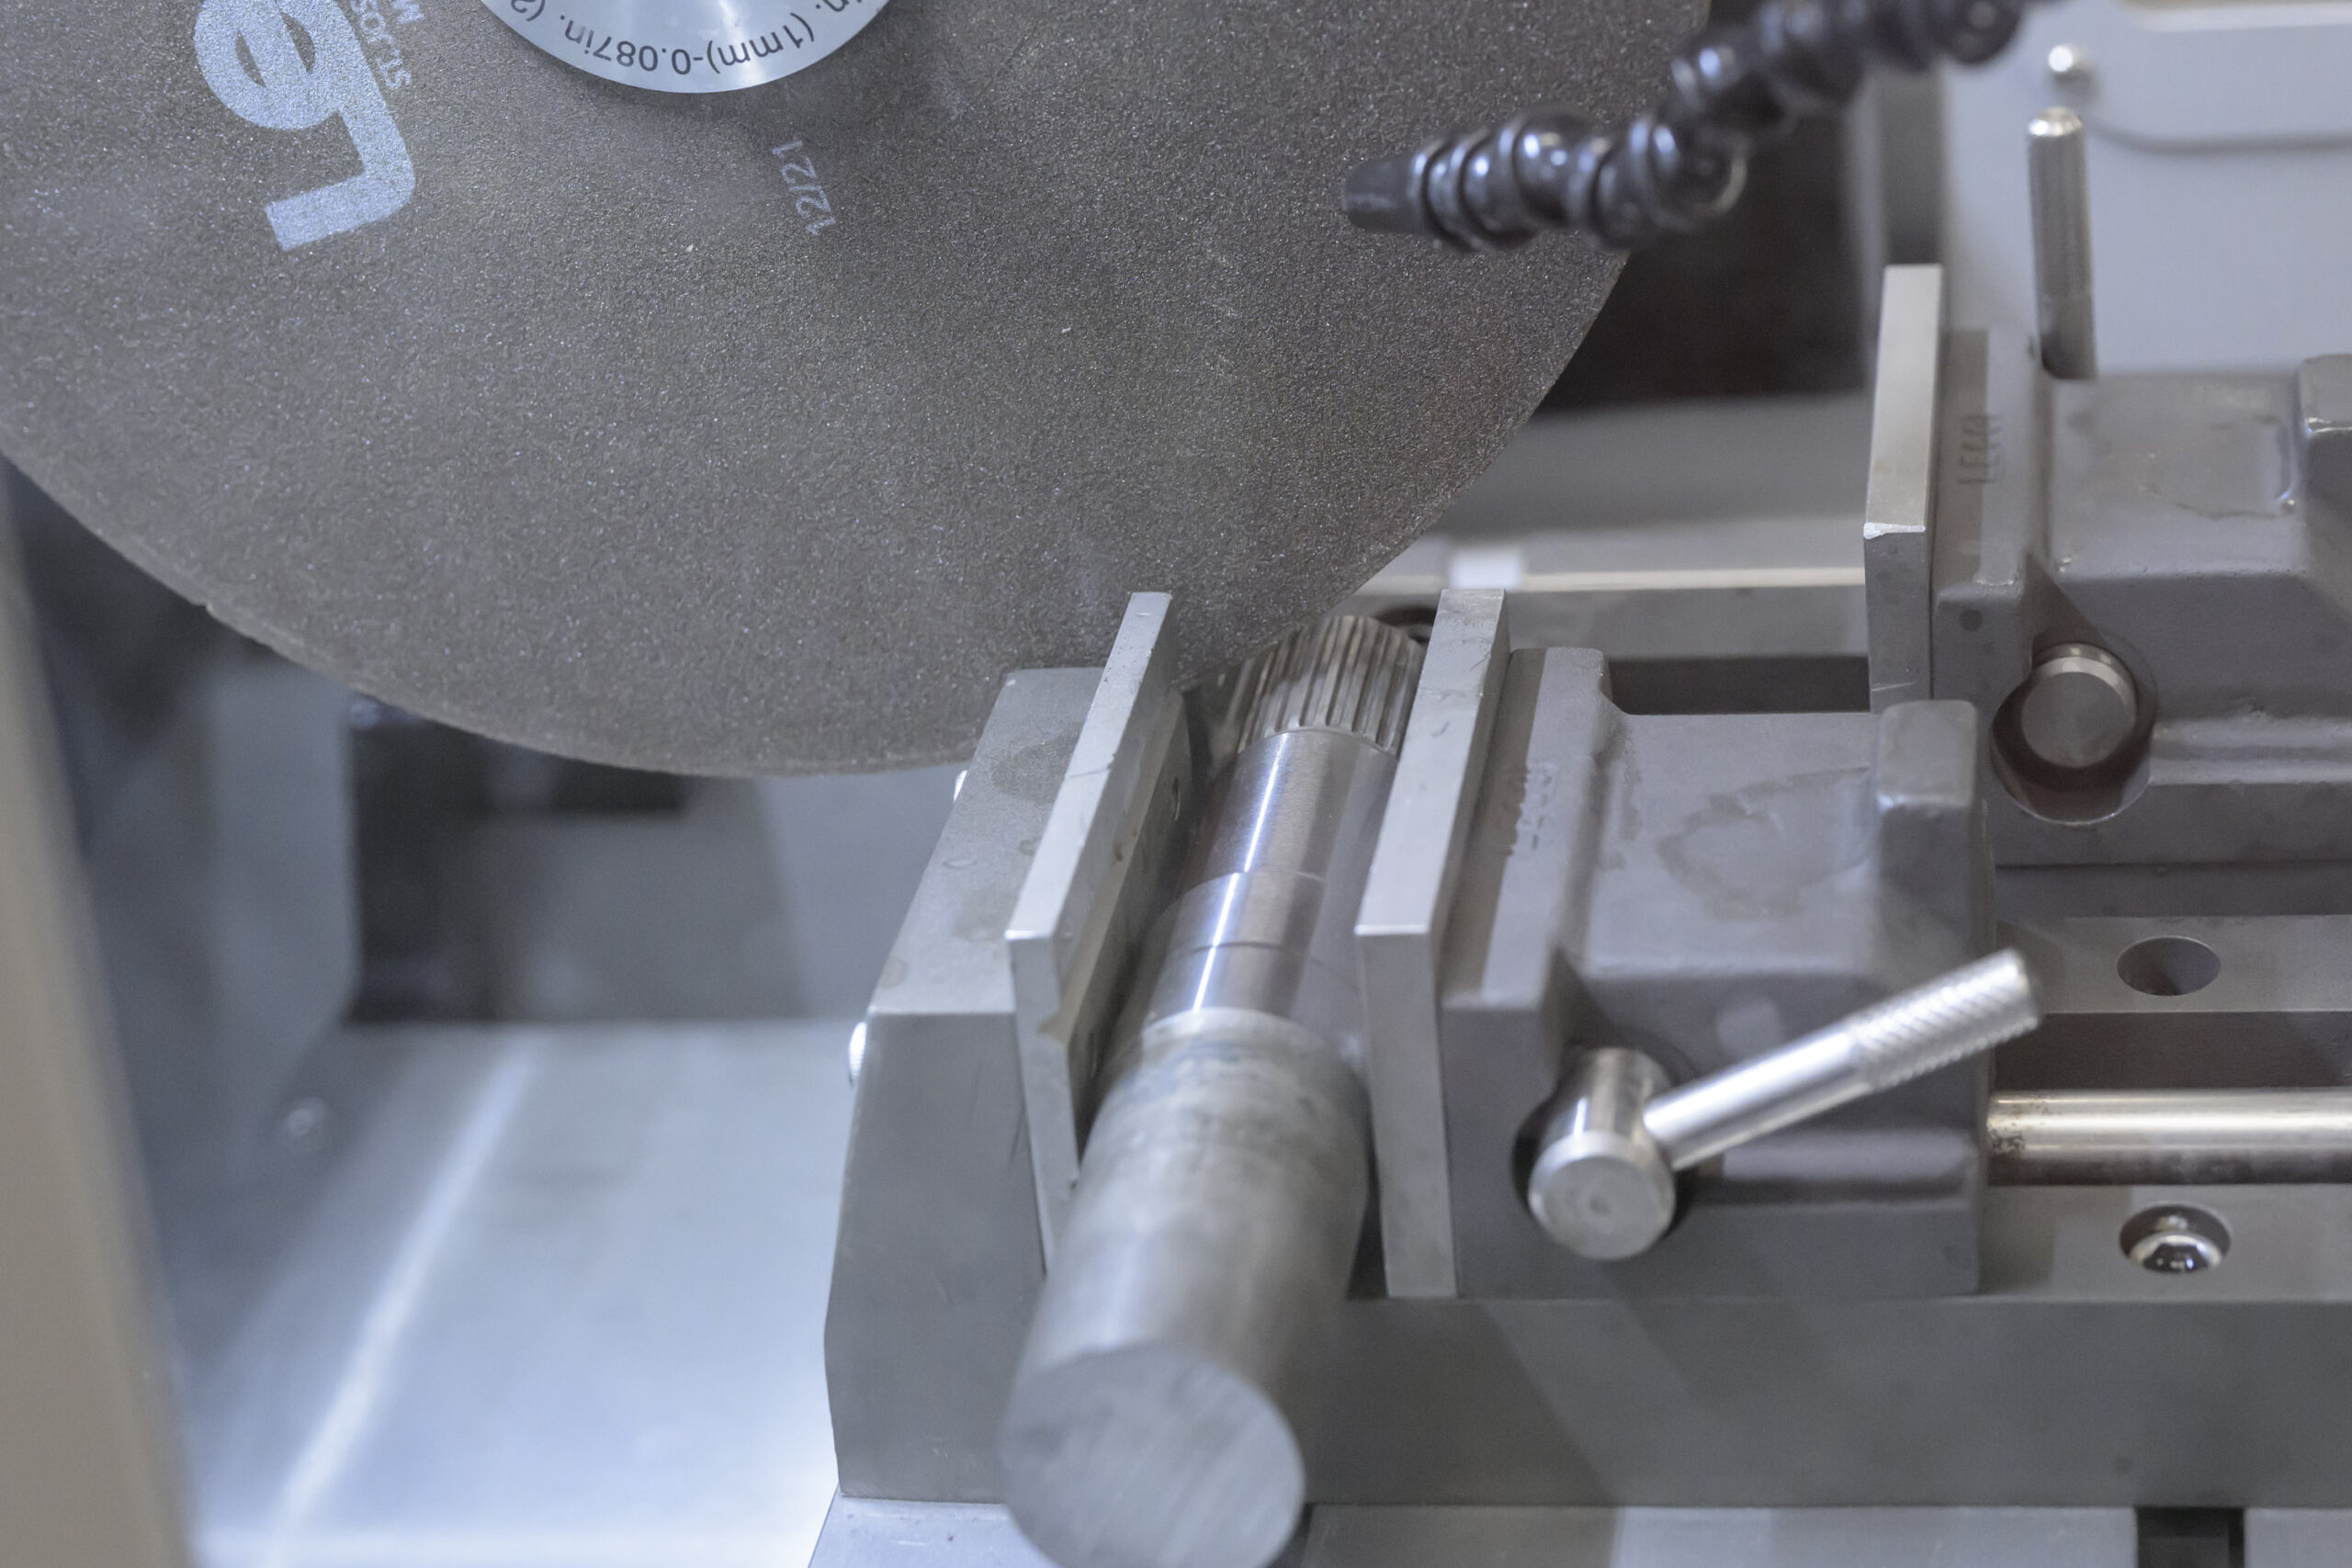
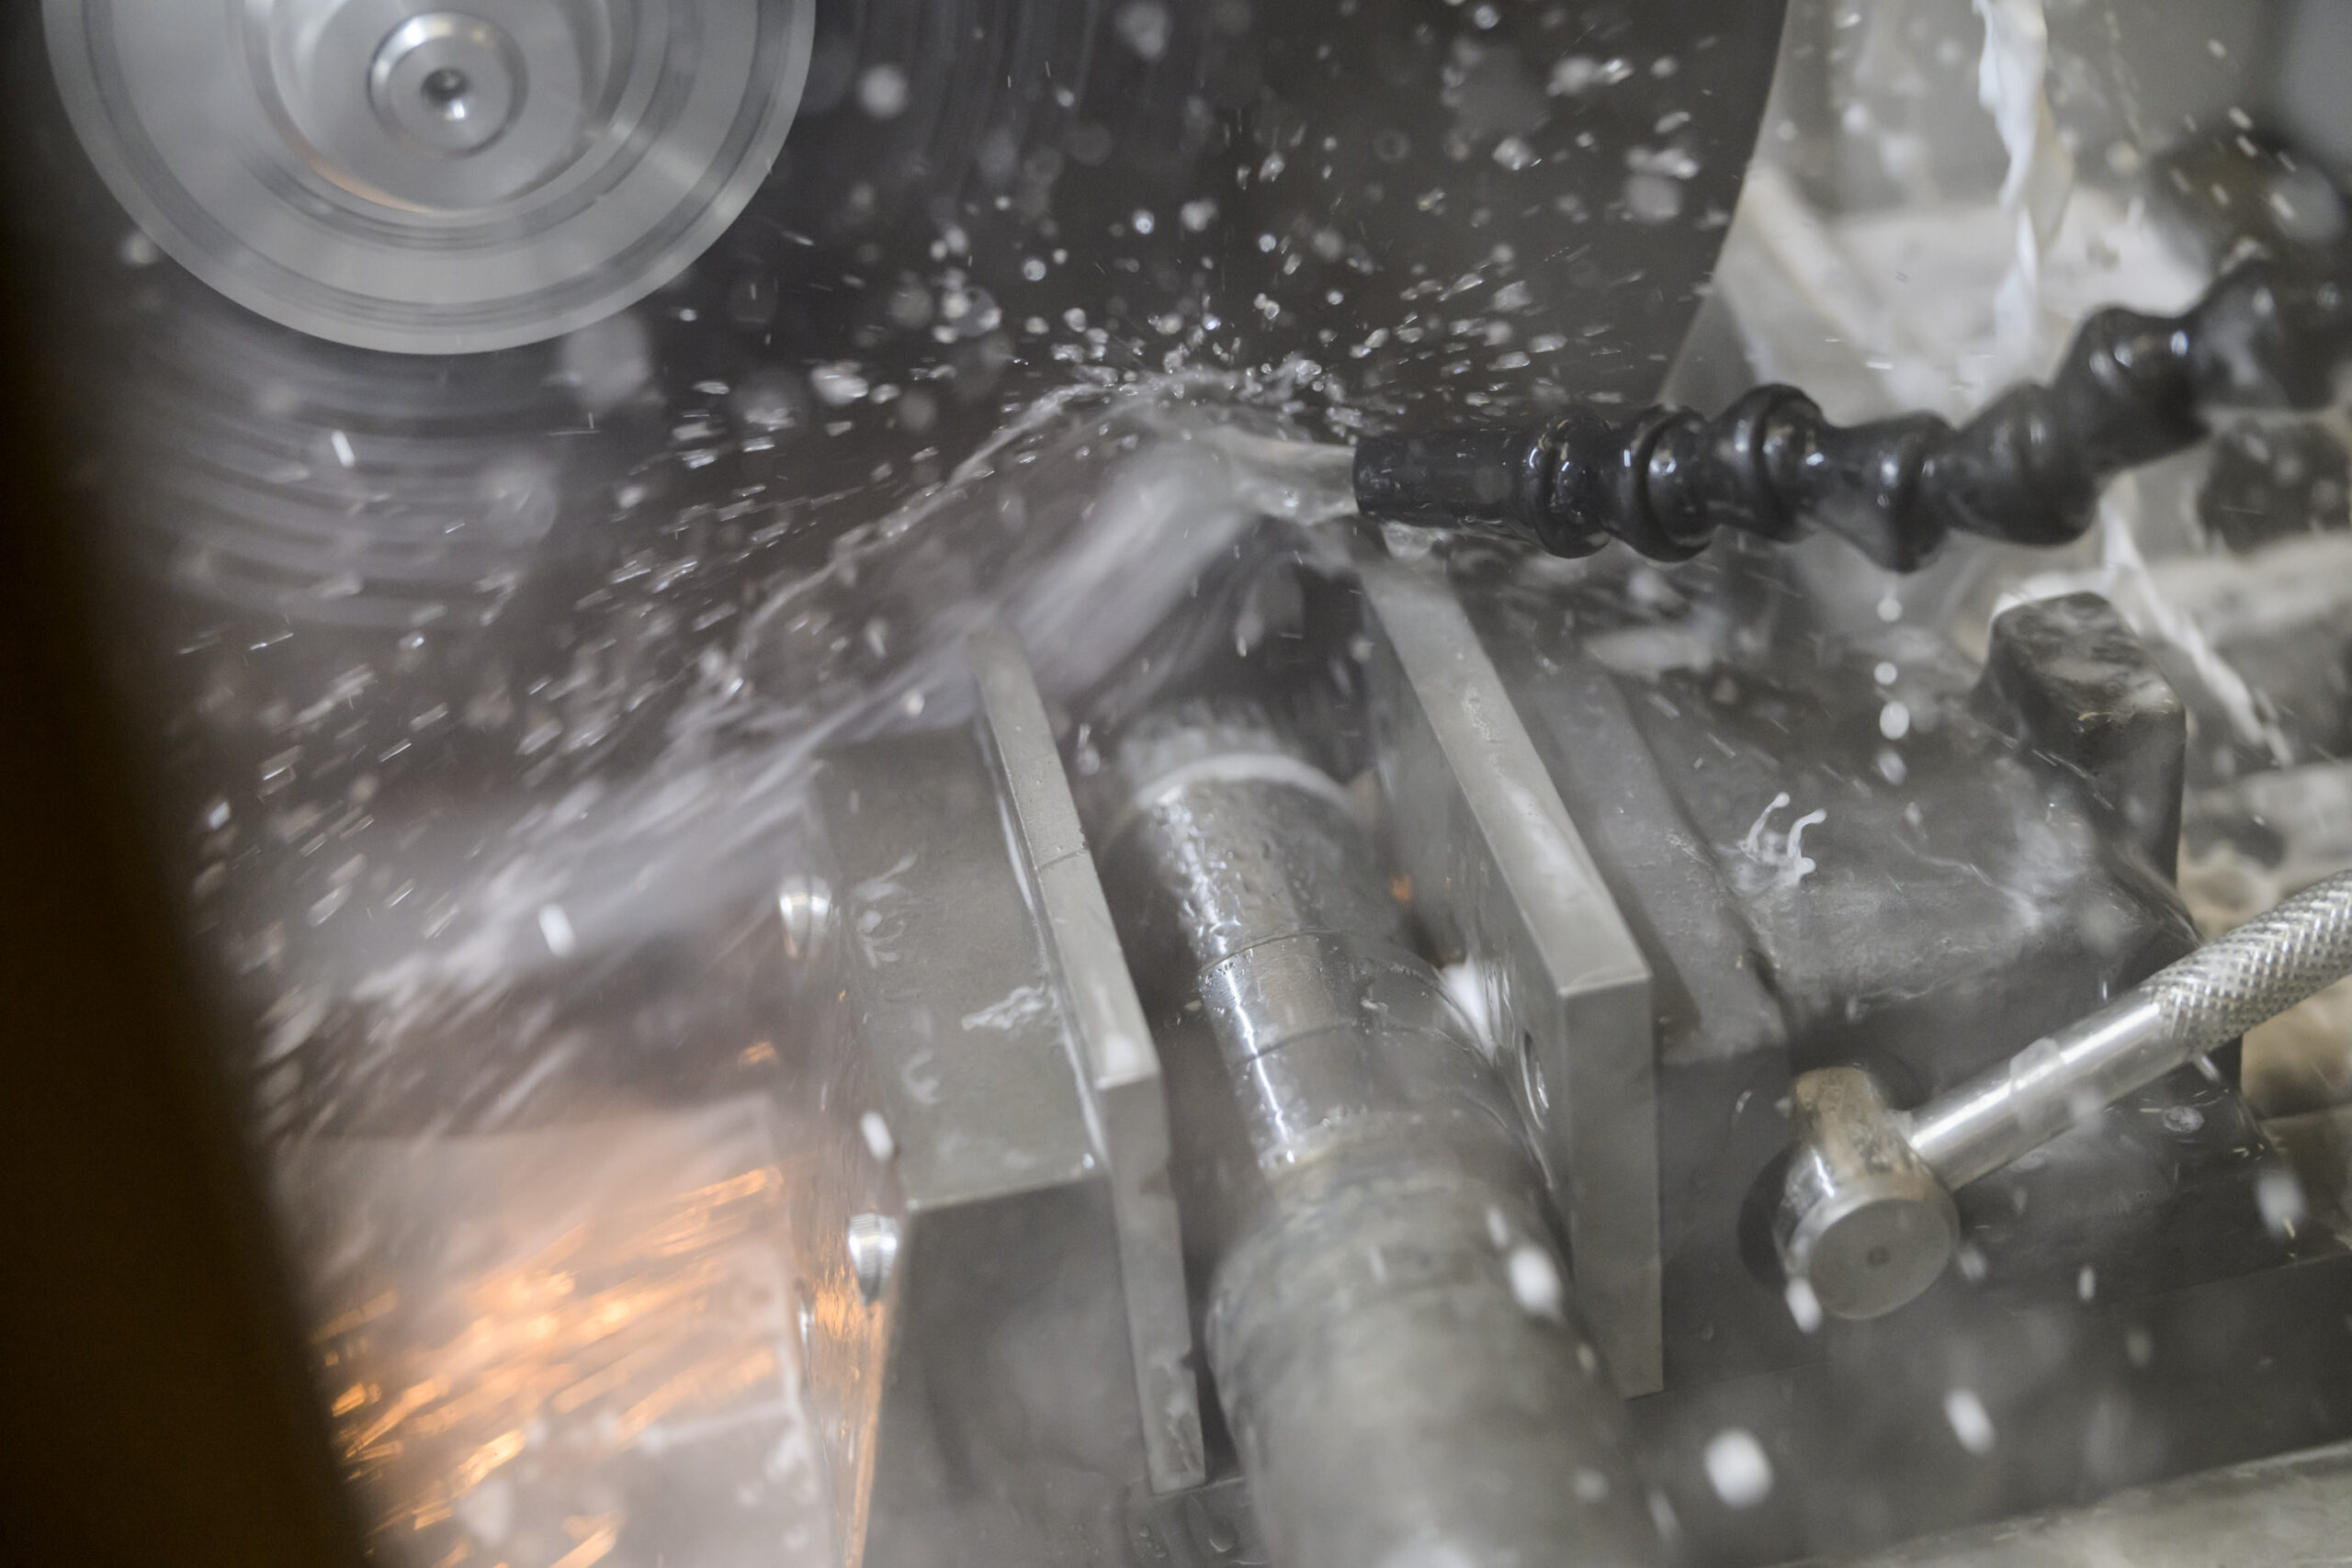
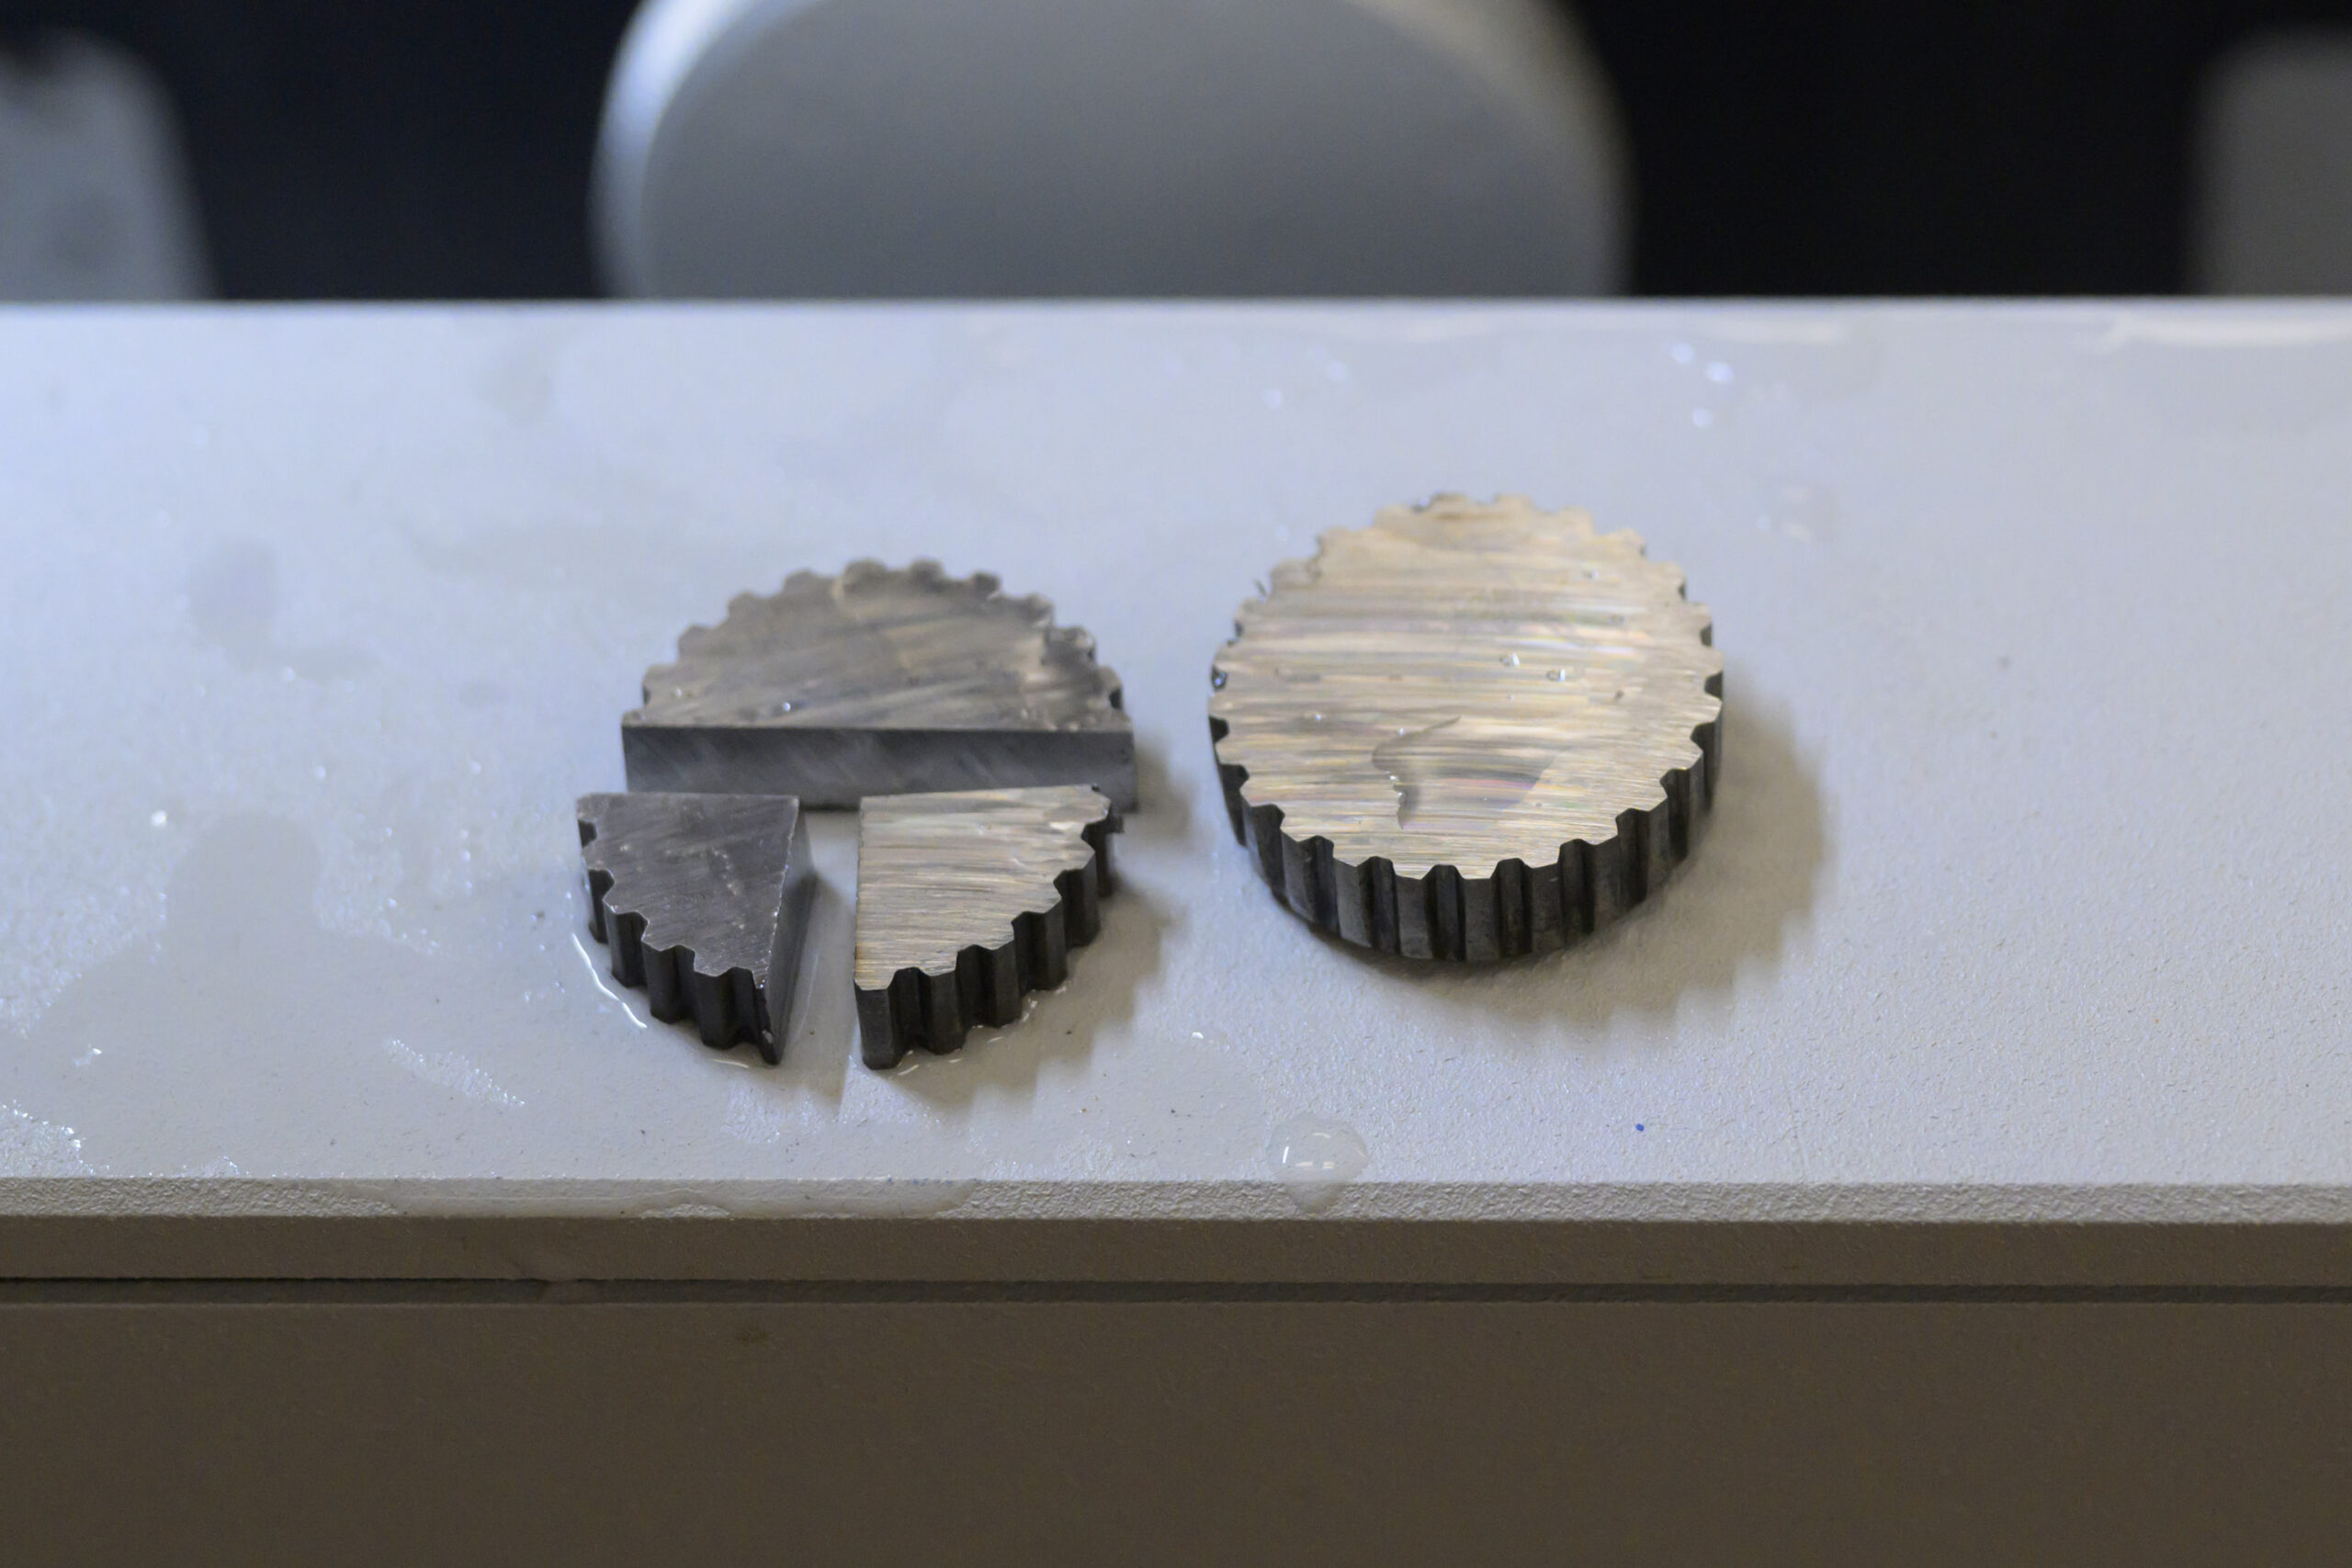
Sectioning a sample is often necessary to reduce a part down to a manageable size. Analyzing a cross section of a sample is much easier to work with as long as the section is representative of the entire sample. LECO has several sectioning machine models to fit an array of labs and workflows. By sending in a sample, customers receive expert help on which of LECO’s sectioning machines and methods will work best for the job. With the particular sample pictured, it was best to use our new CX300 Series Sectioning Machine. This saw is incredibly versatile and reliable, making it a great choice for many labs. This sample was cut into several different pieces to obtain the desired portion for analysis. After the sample is cut, the next step is to mount it.
Mounting
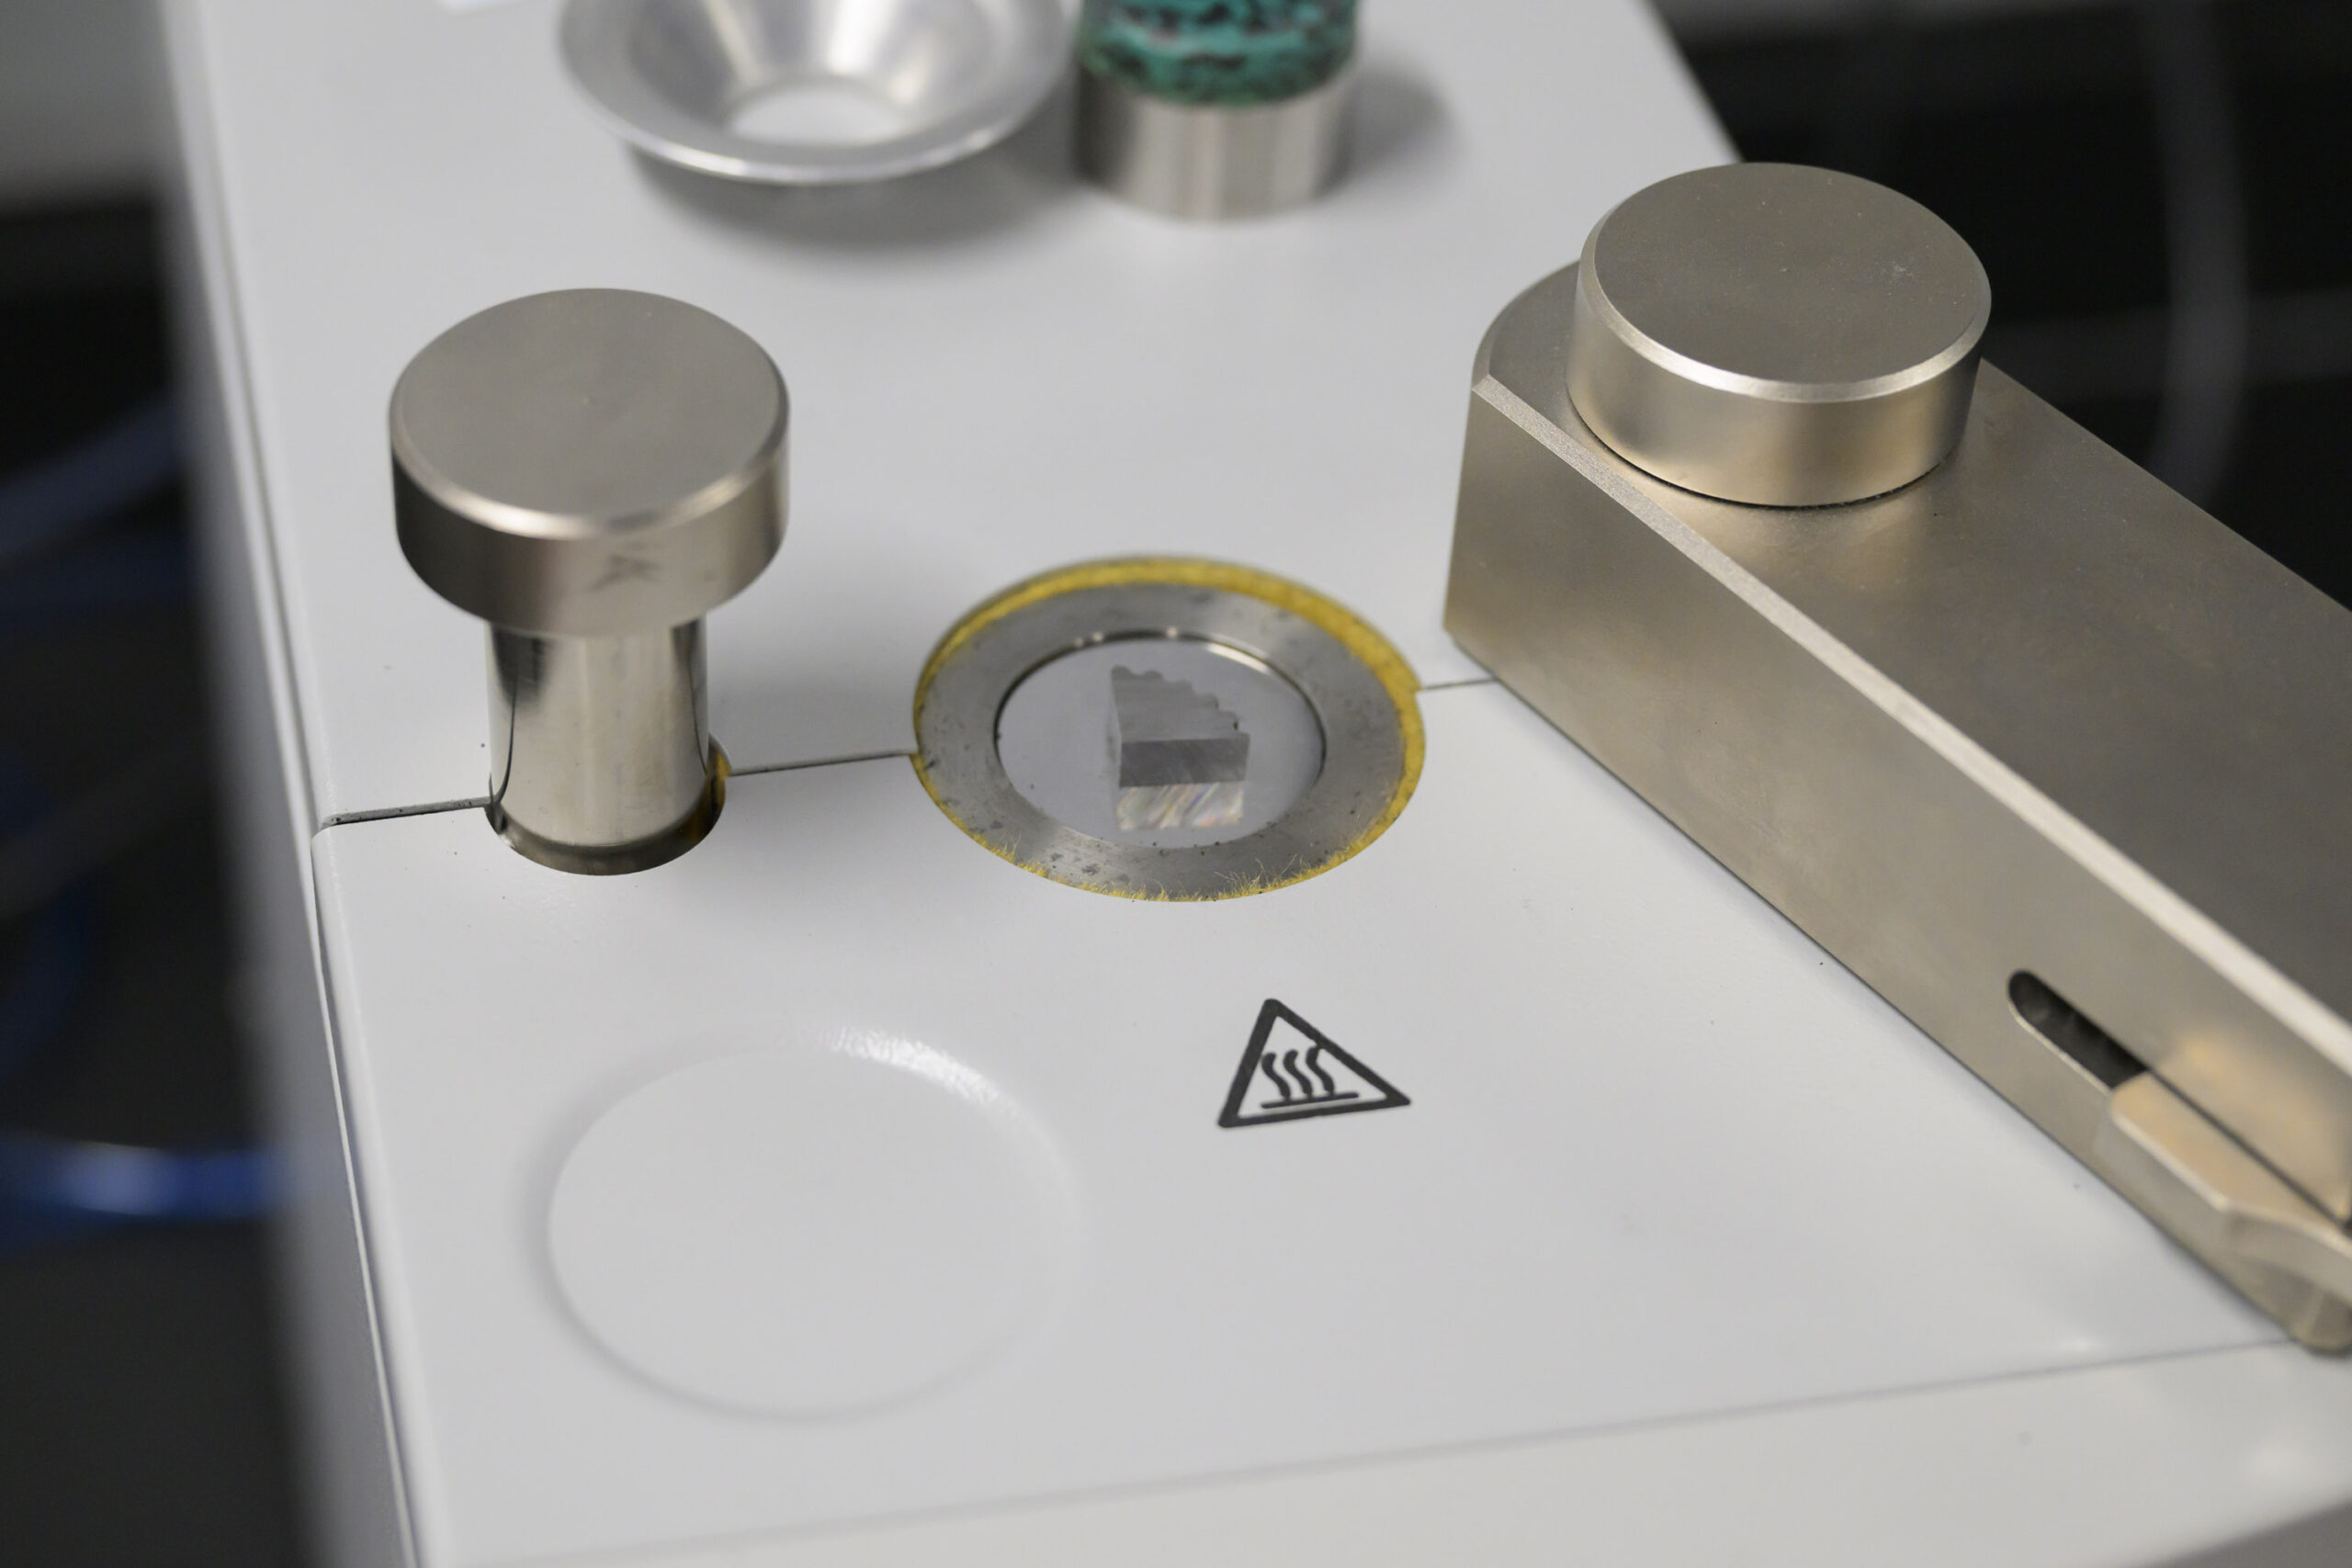
Mounting is an essential step in the process that is commonly performed to ensure that the other steps are completed easily and properly. Mounting a sample involves placing the sample into a mounting press with mounting material (typically an epoxy resin), which will harden and form a disc around the sample. Mounting can be done with a cold or hot method. This sample was mounted using the “hot mounting” method with LECO’s MX500. It is now much easier to handle, marginalized layers and coatings are better preserved, edges and potentially soft or brittle areas are better protected, and the sample is fully suited for use with an automated grinder/polisher.
Grinding and Polishing
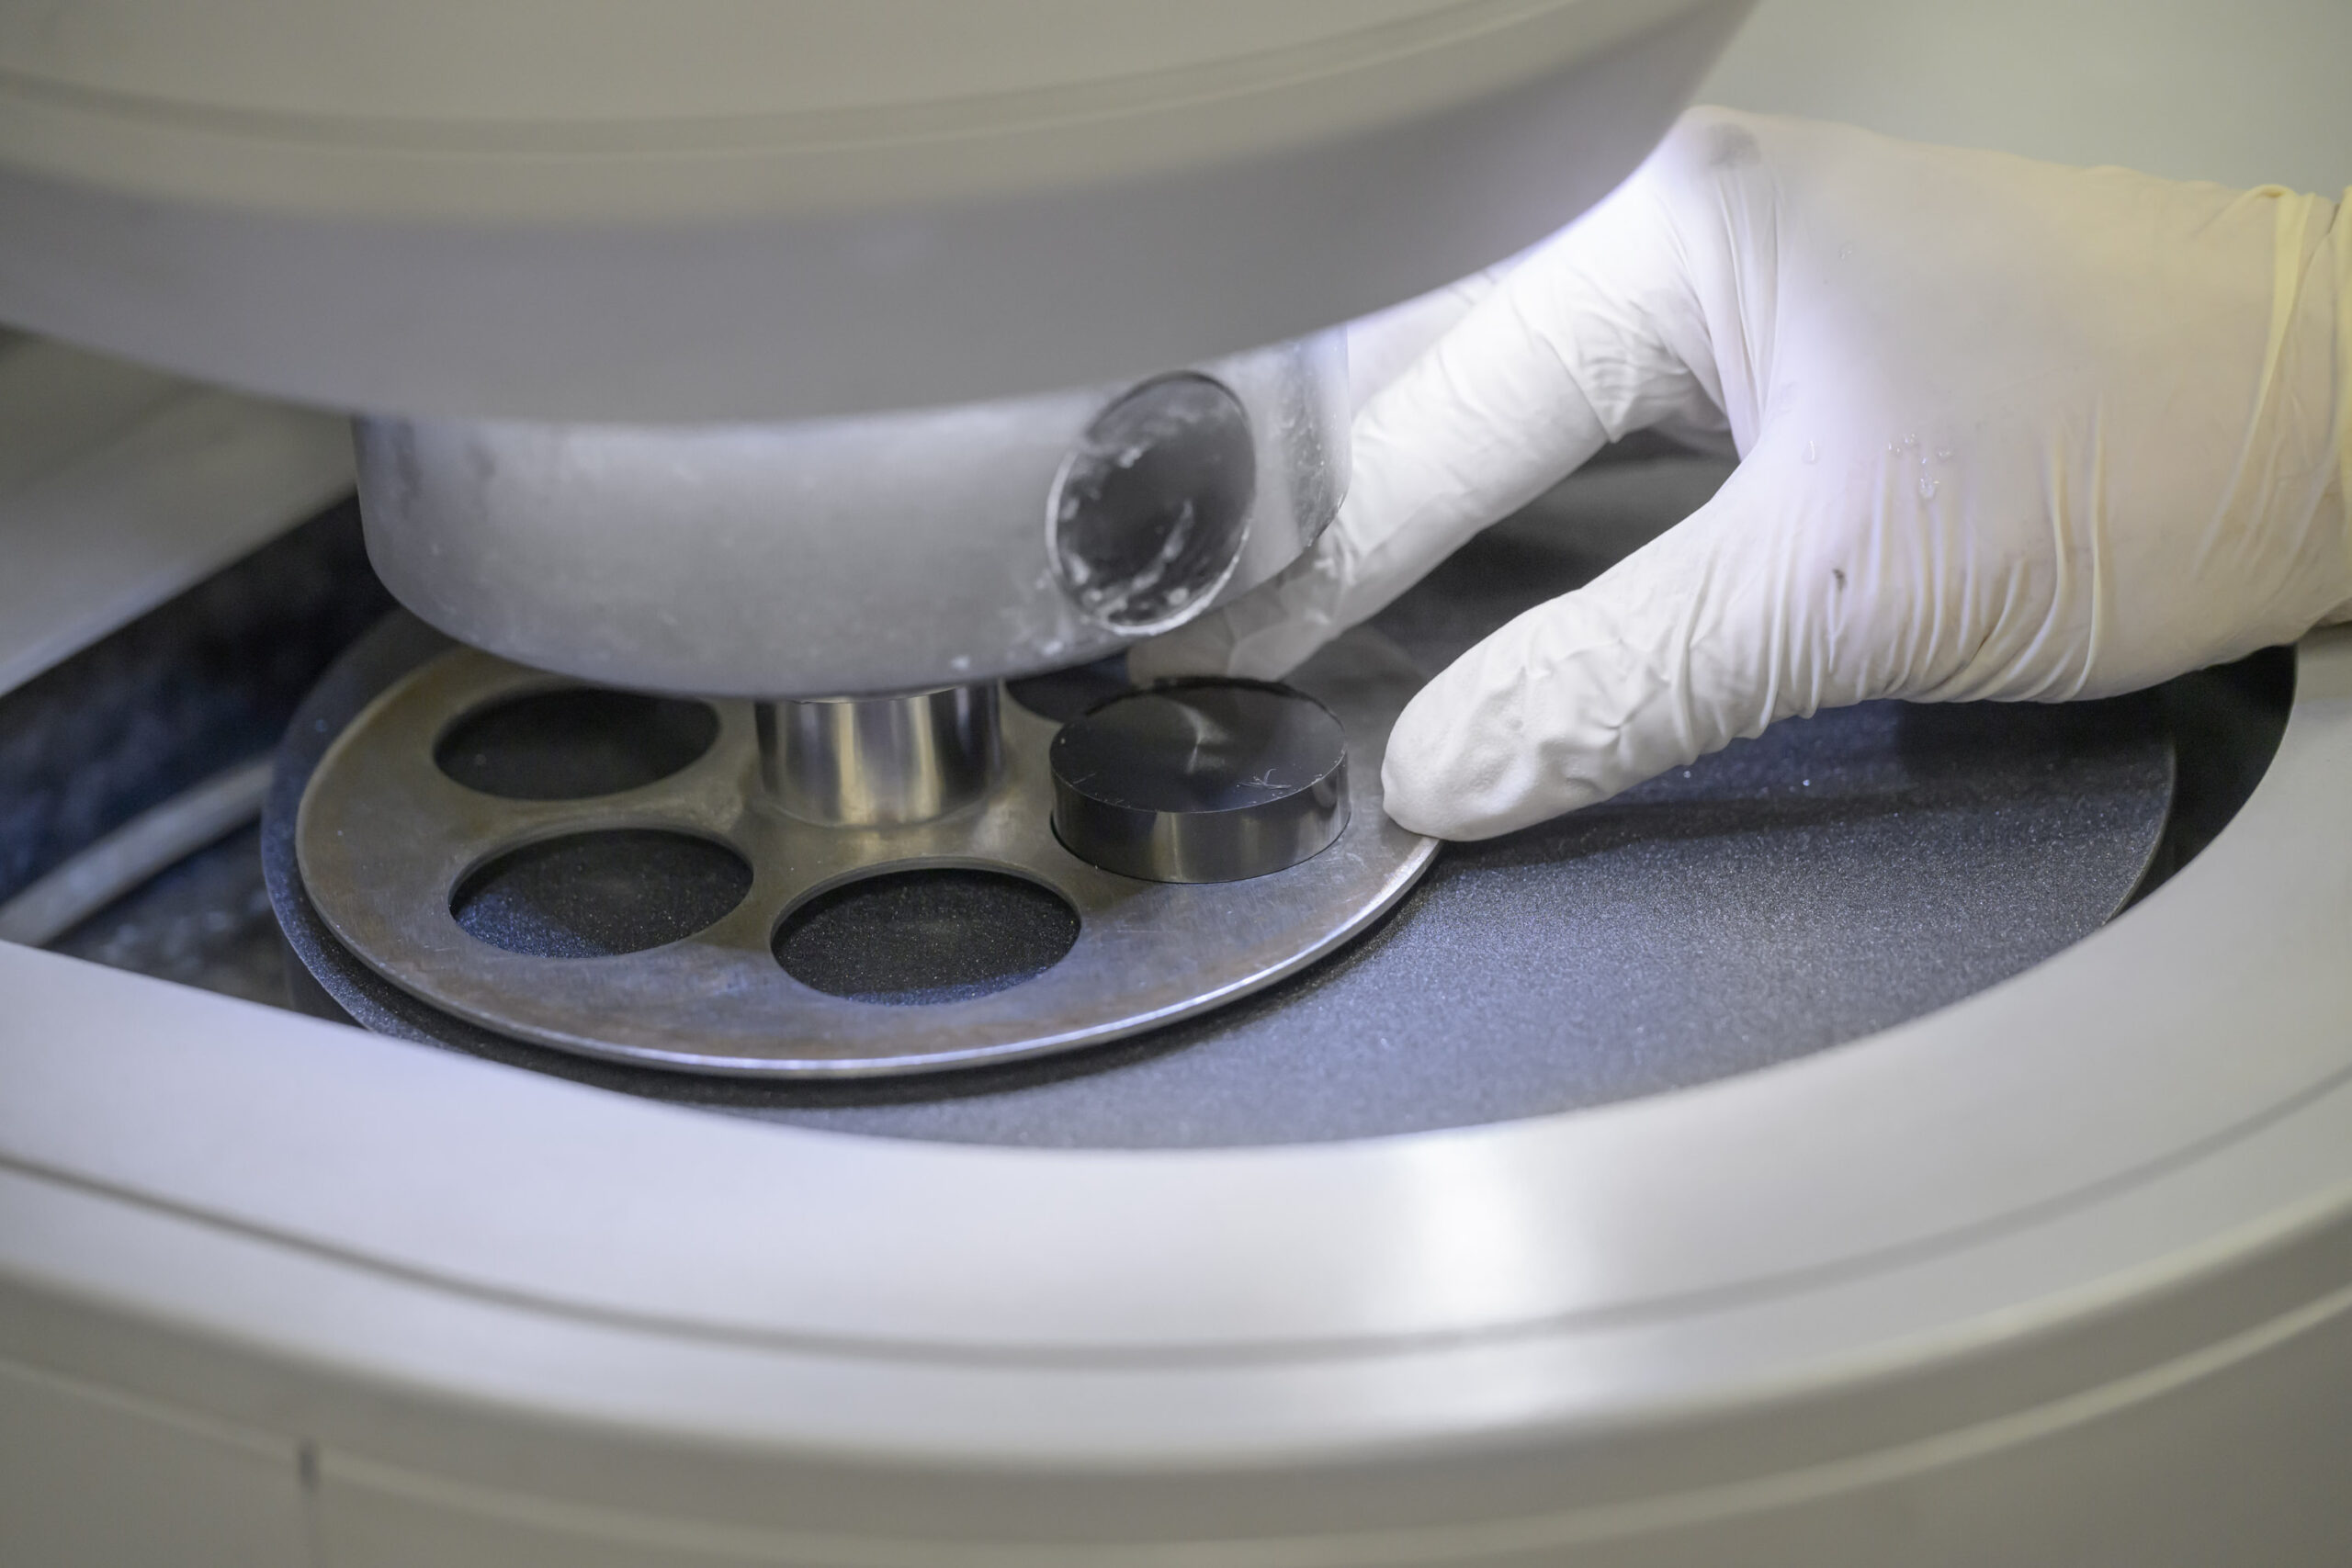
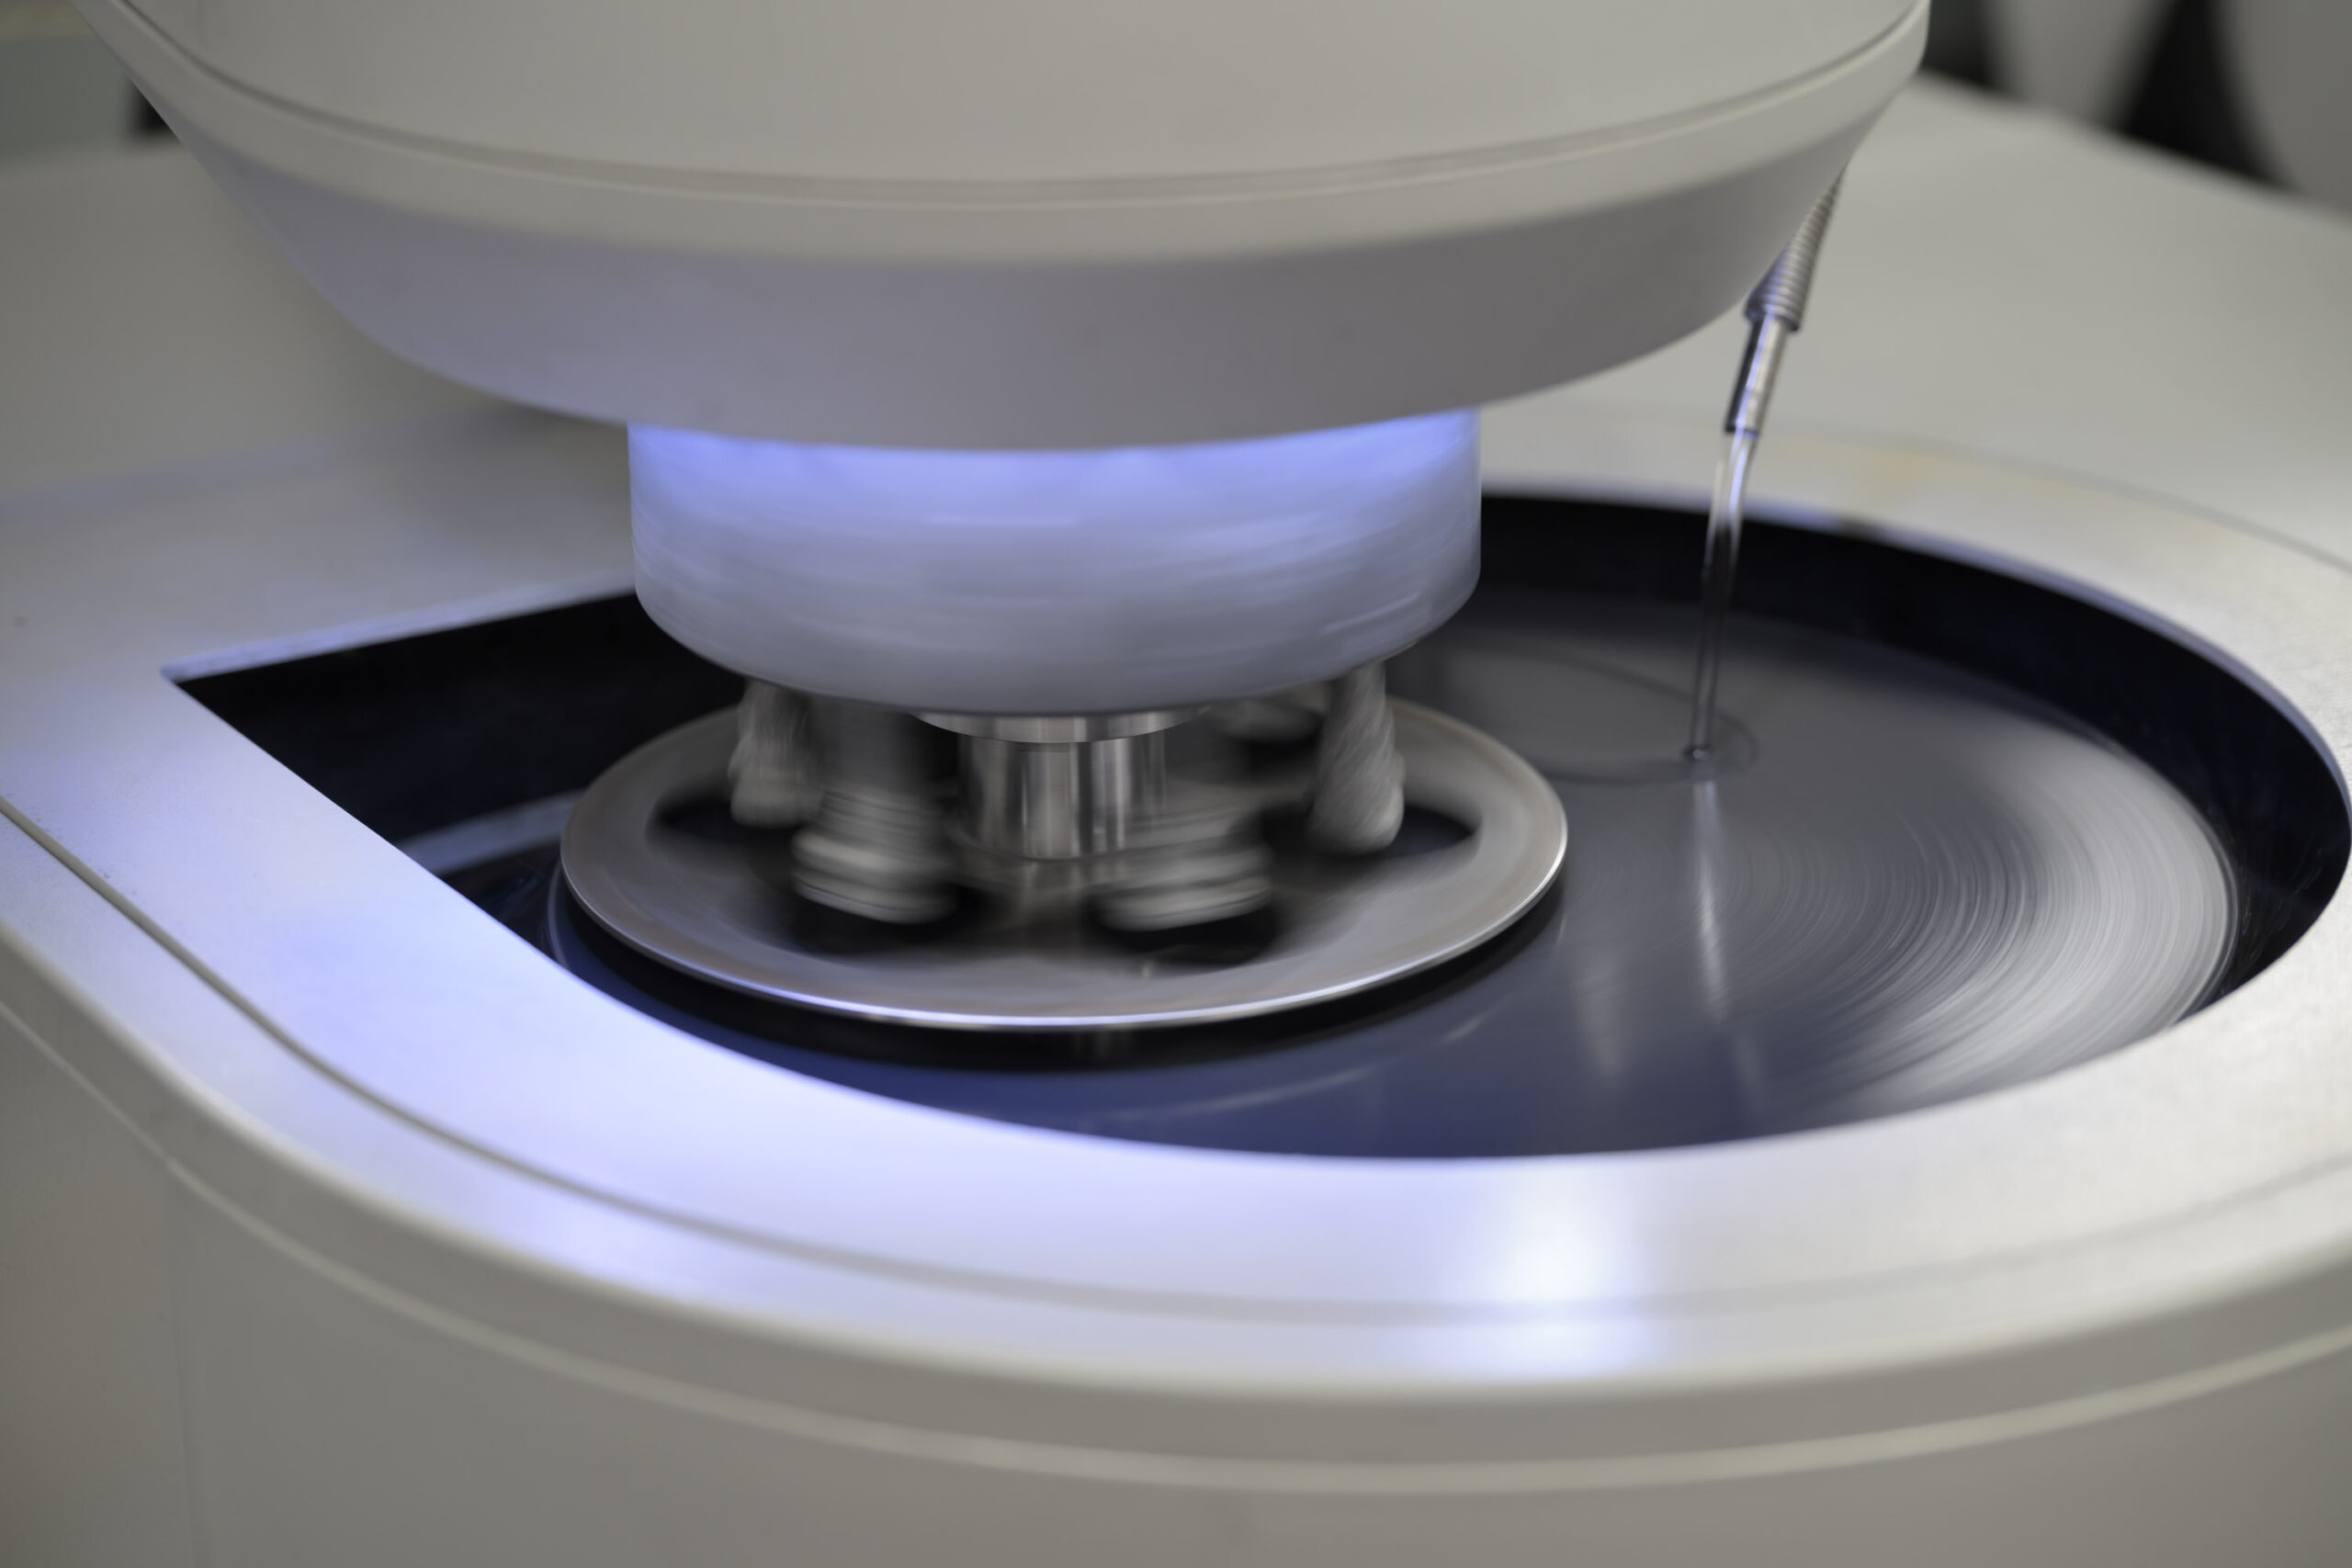
Although grinding and polishing are technically two different steps, we often talk about them together because both steps are done with the same machine. Grinding a sample creates a flat, even surface, and removes any residue left behind from mounting. Following up grinding with polishing ensures that deeper scratches from the grinding abrasives are removed, and you are left with a perfectly smooth, even surface for analysis of the exposed microstructure. Grinding and polishing can be done by hand, but that leaves room for human error. Using LECO’s PX500, up to six samples can be ground and polished at once, all at the same pressure and speed to ensure flat and parallel surfaces of the mounted samples. Although we have several different options to use in our Metallographic lab, our experts used the PX500 to grind and polish this sample.
There are many different methods and techniques that may work for grinding and polishing a sample with an automatic grinder/polisher. LECO has a few approved methods that work for most materials. For every sample we receive, we are confident we know a method that will ensure the best results.

Hardness Testing
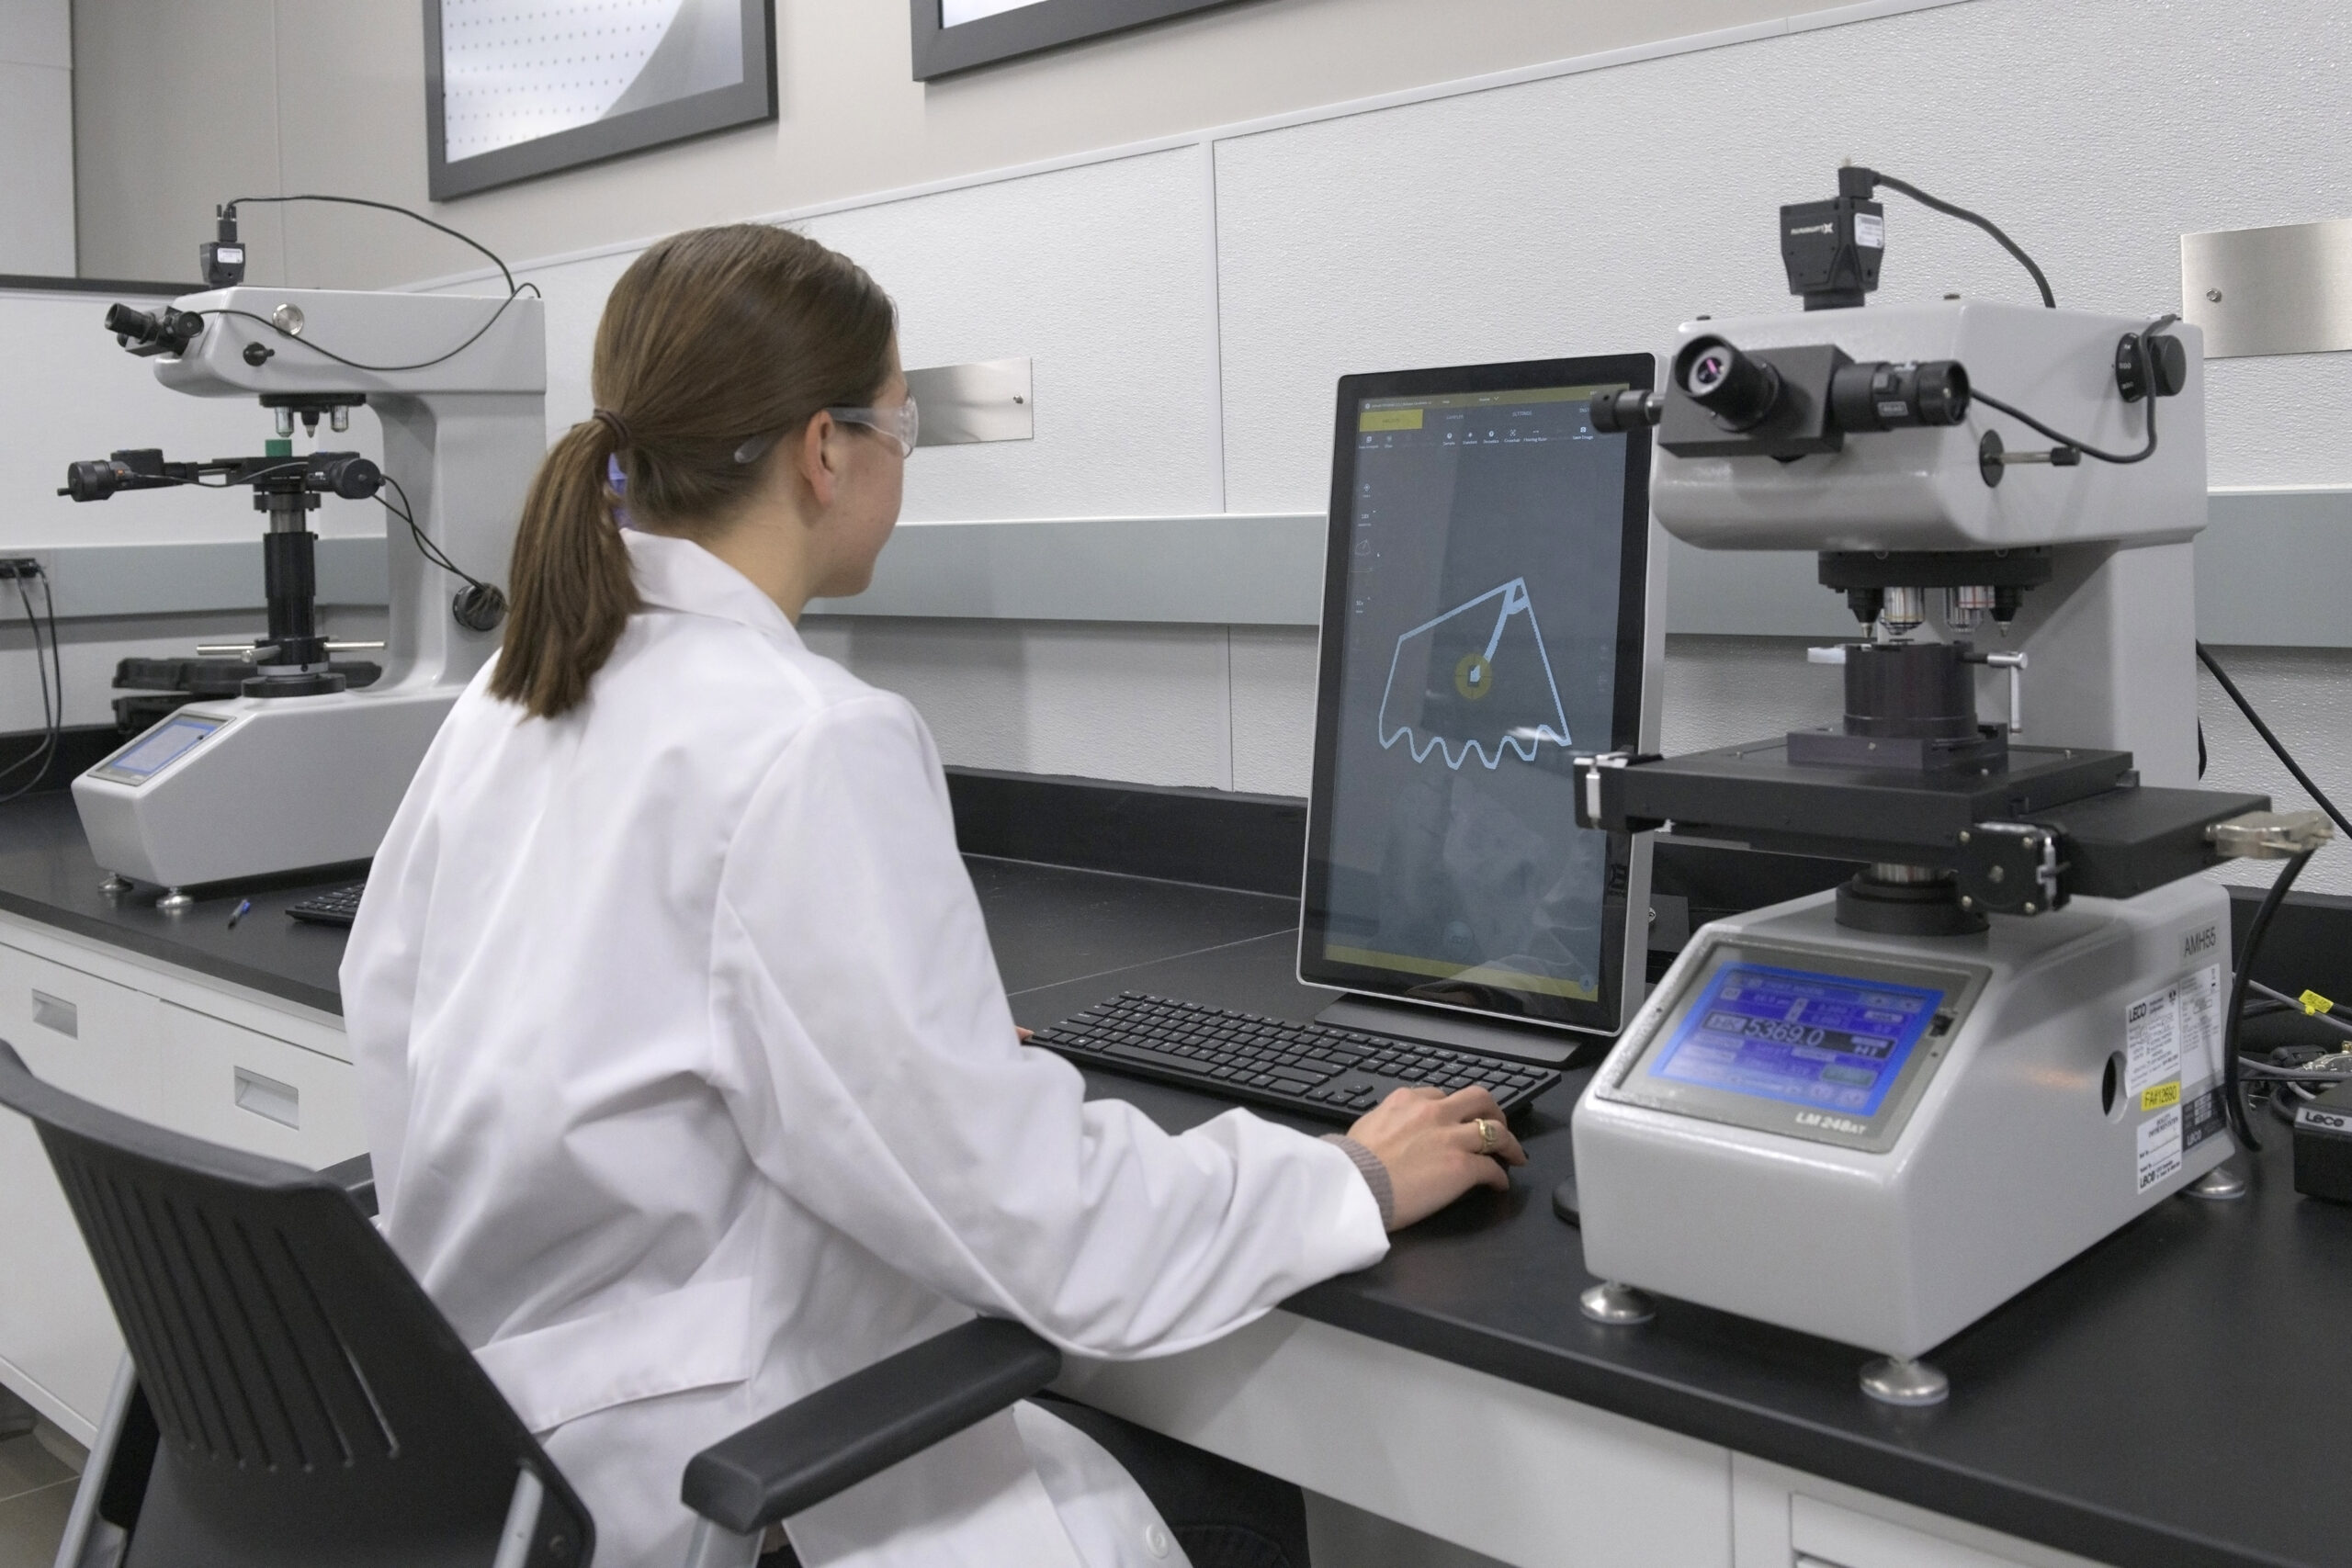
Once the sample has gone through the steps of grinding and polishing, it is ready to be analyzed. One of the ways to analyze a metallic specimen is to test its hardness. Hardness testing reveals properties of the metal that expose the quality, durability, and potential lifespan of the metal, in turn proving which applications that metal would be best used for. Being able to draw accurate conclusions from the results of hardness testing is critical, which is why each prior step is critical as well. Furthermore, manual hardness testing can often lead to error and inaccurate conclusions, which would be a waste of all the important prep work already done. Using an automatic hardness tester is much more reliable and precise, and the testing is more quickly completed. With LECO, our fully automatic hardness testers come with built-in Cornerstone® software that does nearly all the work for you and displays easy-to-read results in real time. The pictures below show the AMH55 system working its magic on our freshly prepared sample. Thanks to our trustworthy instruments available in the lab, we know the results that come from this hardness test will be accurate.


If you would like more information on any of our instruments for sample preparation or analysis, please click the button below and fill out the form. If you are a current LECO customer struggling with an application or you are in the market for new equipment and would like to learn more about sending in a sample for evaluation, please fill out the form and specify this in the comments and we will have your Sales Engineer contact you.


